Triangle Choke – BJJ Submission

The triangle choke is a classic Jiu Jitsu submission. It’s a choke that has been there since the beginning and that’s because it’s a perfect move.
It is a phenomenal submission that has countless setups to get to it. Here is our breakdown of the triangle choke.
We’ll take you through how the move was developed and the mechanics behind the move. Then we’ll give you a variety of setups to hit the move, and give tips and details for finishing it.
Contents
When was the triangle choke developed?
The triangle choke was adopted from Judo, where it was referred to as “the Sanaku-jime.” It roughly translates to figure 4 choke from the way your legs are locked together.
When Jiu Jitsu adopted the choke it was renamed to the triangle choke. Obviously from the triangle your legs make once it’s locked on.
It was the perfect move for the creators of Jiu Jitsu to use for their more ground based system. From the moment the choke was created, the triangle choke was shown to have endless potential.
Today the choke continues to be innovated with so many different setups created, you can fill books with them.
The mechanics of the triangle choke
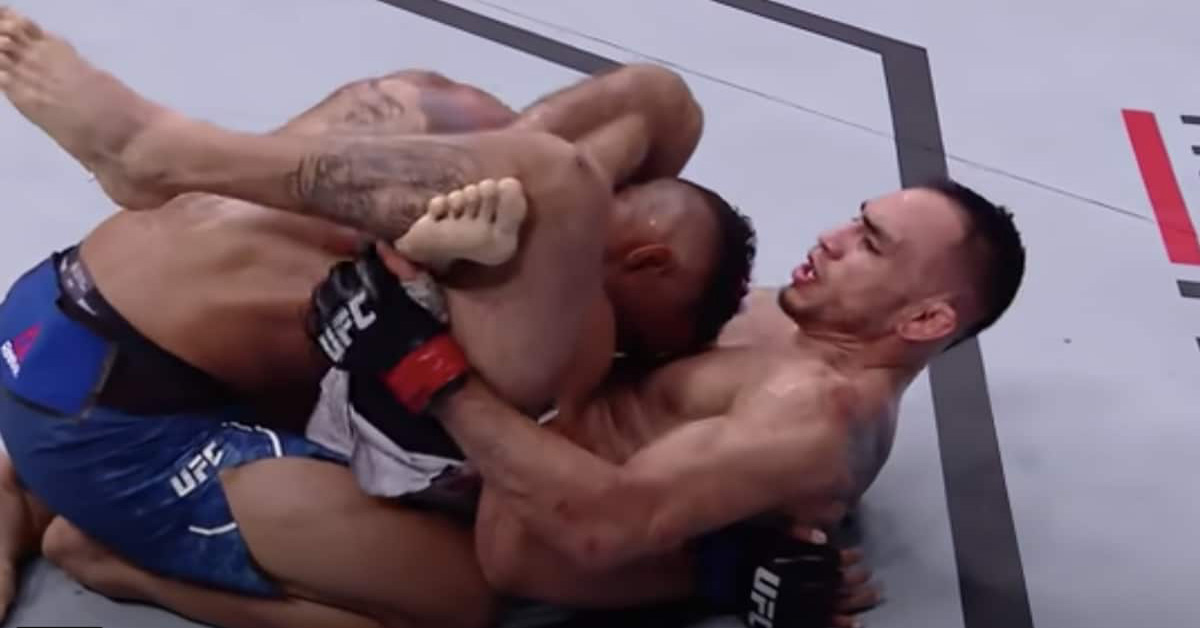
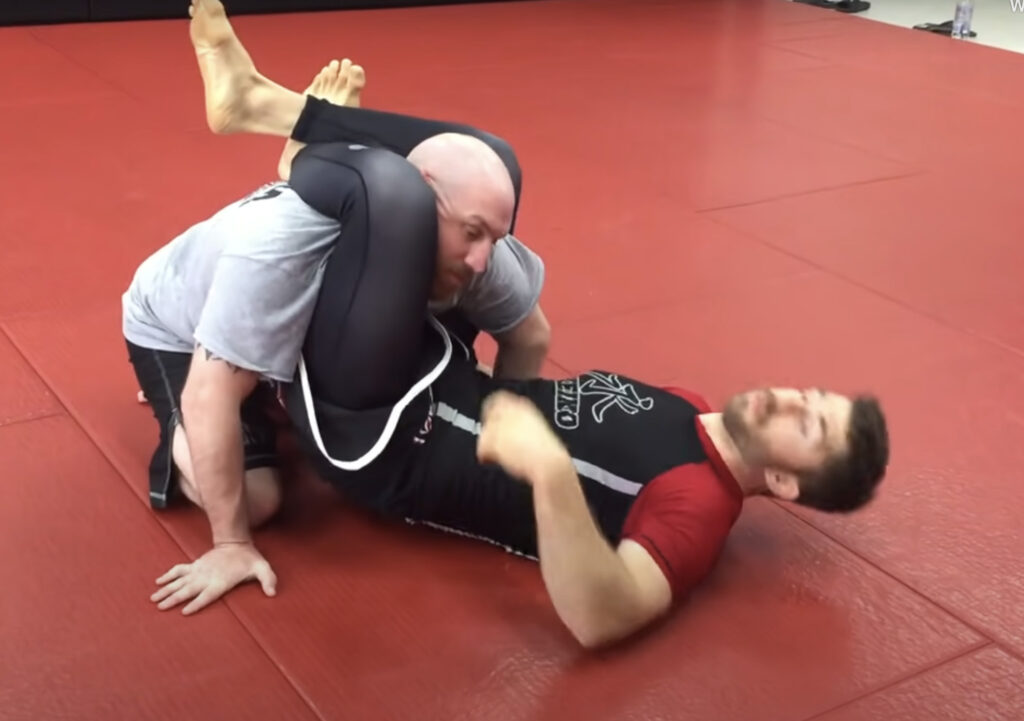
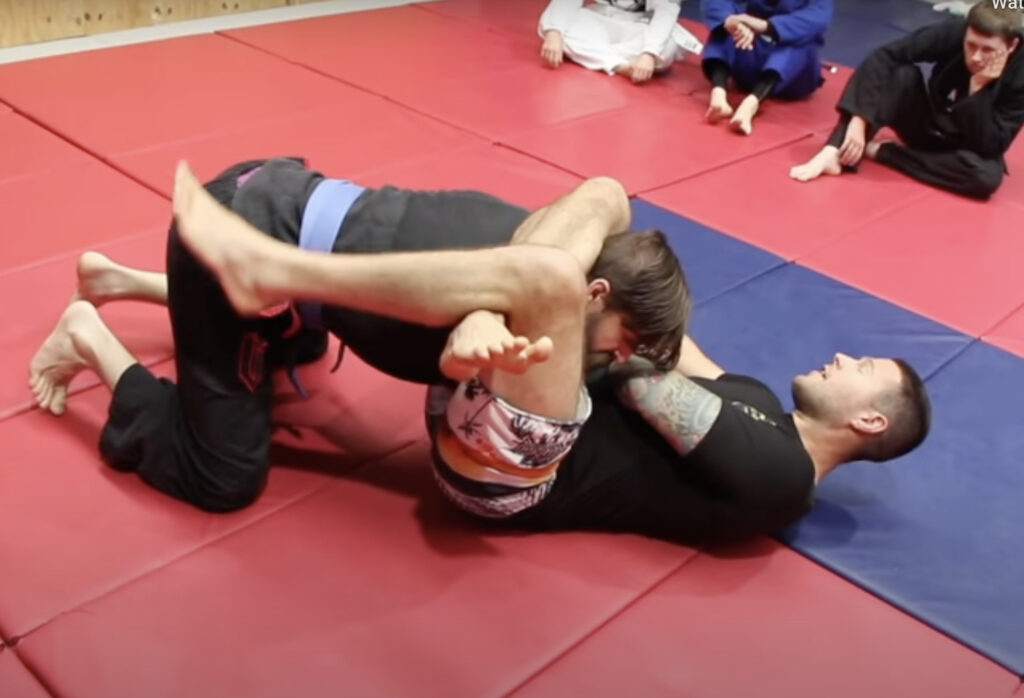
A triangle choke works much in the same way a boa constrictor strangles the life from its prey. Your legs lock around your opponent’s head trapping them in place.
When you start to squeeze your knees in, this motion cuts off the blood flow to your opponent’s brain.
In this position, your opponent is in a worst case scenario. They only have seconds to escape, submit, or go to sleep.
Basic triangle choke

One basic triangle choke setup starts in closed guard, grabbing an overhook one your opponent’s arm. Instinctively your opponent will defend by basing their free hand on your body and limp arming their arm free.
Before they do this, you’re going to grab wrist control on their arm, push it to their chest. Then you’re going to quickly get on your side and throw your triangle up.
You now have the triangle on them, but you still need to break their posture and lock it in. Break their posture by grabbing your shin that’s across their neck to pull them down. Another option is to pull down their head or you can do both at the same time if you want.
Now you’re going to lock your triangle in and be sure that your ankle is locked behind your knee. Never put your foot behind your knee because the torque can break your foot and it’s not as tight.
Next, lift your hips up to get your opponent’s arm across your body and to take a slight angle. From here, you can finish the choke by pulling down on their head and squeezing your knees together.
Spider guard triangle

There’s a lot of good triangle setups off of spider guard and this is probably the easiest one. Start with your basic double bicep control in spider.
Next place one of your legs next to your opponent’s legs and go for the spider scissor sweep. This is to get them to react and defend the sweep to set up your triangle.
They’ll defend by basing out and coming back to the centerline. As they come back, kick your foot off your opponent’s bicep and use your grips to pull them into your triangle.
Turn your hips, pull their head down, and finish the triangle.
Lasso guard triangle
From the lasso guard, you can granby roll right into a slick triangle. Start by getting a sleeve grip and loop your leg between their arm and body to get your lasso. Your other hand is going to grab sleeve or wrist control on your opponent’s free hand.
With control of your opponent’s arms, you’re going to turn on your inside shoulder and go into your granby. Make one full rotation and as you finish your roll, lift your hips, and catch your triangle choke.
It’s a really slick setup that is also really easy to do.
Mounted triangle
If you watched Khabib vs Justin Gaethje, then you saw this triangle choke set up from mount. Once you go into the mount, your opponent may react by hugging your body to defend.
When they do this, go to S mount by hooking one of your legs behind your opponent’s shoulder. As you do this, you overhook their arm on the other side against your leg and body.
Next, push down your opponent’s bicep and bring your leg over their arm and behind their head. Once you do this, you’re going to pull your opponent’s head as you fall back to make them sit up.
As they come up, this gives you the space you need to lock up a really tight triangle.
Top side control triangle
You can also set up a triangle choke from on top in side-control. Start by turning into a kesa-gatame side control and pull your opponent’s near arm up.
Next, you’re going to slide your head behind their head to cup their armpit and go back to normal side-control. Once you’ve established this tight head/arm control, you’re going to grab wrist control on your opponent’s far arm.
This is to get them to react by lifting their head off the mat. When they do this, hold their arm to their body and lift your inside leg up and over their head.
Shift your weight slightly forward to lock in your triangle. You can either finish the triangle from the mount, roll to your back, or do an arm lock triangle combo.
Bottom side control triangle
A triangle choke is even possible when you’re stuck in side- control. This was a setup perfected by BJJ world champion Braulio Estima.
Start the setup by bridging into your opponent and turn to make them post their hand on the mat. Get on your side and underhook your opponent’s near arm, while hooking their far arm with your foot.
With your opponent’s arm trapped, push their head away and lock up your reverse triangle. Turn towards their head, hold the arm, and squeeze to finish.
Triangle from back control
When you have your opponent’s back, you can lock up a really tight triangle choke from. Start the setup by reaching under your opponent’s arm and grabbing wrist control.
With your wrist control established, you’re going to turn them to the mat. You then reach over with your choke hand and switch your wrist control to that hand.
Next, scoot your hips out and bring your elbow over your opponent’s head. From there, bring your leg over your opponent’s shoulder and lock up your reverse triangle.
If you want, you can clear your opponent’s arm with your foot to clear it before locking in your triangle.
Details and tips for doing the triangle choke
The triangle choke can be the best move in your arsenal, but one missed detail will completely unravel the move. Here are important details and tips for doing the triangle choke.
- Lift your hips: Your hips need to lift off the ground when going for a triangle choke. If they don’t come off the mat, you don’t have a chance at landing the move.
- Chop the leg: When you bring your leg down your top leg it needs to chop down with force on your opponent’s neck. Bringing your leg down without any force will not break your opponent’s posture and they will easily posture up.
- Ankle behind your knee: Put your ankle behind your opponent’s knee to lock in the position. Do not put your foot behind your knee or you could possibly break your ankle or foot.
- Arm across your body: Pass your opponent’s arm across your body to block off the side of their neck. There won’t be any space when you put on the pressure.
- Angle out:You will need to slightly angle out to the side away from the arm that’s in your triangle. This angle will ensure that you get more pressure on your choke.
- Squeeze knees together: Squeeze your knees together to lock on the pressure of your choke.
- Pull head down: If you need leverage for finishing the choke, your first option is to pull your opponent’s head down as your squeeze.
- Underhook the leg: The second option you can use to help finish the choke is to underhook your opponent’s leg. This will help hold them in place and keep them from defending by crossing their legs over your body.
- Underhook the arm: For your third option to help finish the choke, you can unerhook your opponent’s arm. Taking this hand away will prevent them from pushing on your knee to make space.


